| GENERAL INFORMATION |
 |
 The Yealink T41S is an entry-level IP Phone from Yealink's business line of products. The T41S is simple/straightforward to configure and some of its most notable features include HD Audio, Gigabit Ethernet, and PoE (Power over Ethernet) support The Yealink T41S is an entry-level IP Phone from Yealink's business line of products. The T41S is simple/straightforward to configure and some of its most notable features include HD Audio, Gigabit Ethernet, and PoE (Power over Ethernet) support
|
|
| RESOURCES |
|
Websites:
Yealink Homepage
Yealink T41S Product Page
Help / Support:
T41S Support
|
|
| Configuring the Yealink T41S |
|
This guide is based on the Yealink T41S hardware version: 68.0.0.0.0.0.0 running firmware version: 66.81.0.110. If you are running a different firmware revision some of the menus and settings may be different. These instructions are also based on using the T41S in its factory default configuration, which obtains a dynamic IP address automatically from your router using DHCP. For information on configuring your T41S with a Static IP address, please refer to the T41S user manual.
For the purpose of this guide we will use the web interface to add a new account.
We recommend that you read each step through in its entirety before performing the action(s) indicated within the step.
|
 | |
| STEP 1 |
Getting your T41S connected to your network |
|
Connect your T41S to your router using the included Ethernet cable. Once completed, connect the AC adapter to your phone and then plug the other end into an available power outlet. Note that some models of this device do not come with an AC adapter and instead draw power from the Ethernet cable (POE).
Next to retrieve the current IP address of your phone (assuming that your IP phone is properly connected to your network and is powered on); press the menu icon OK on the IP phone itself; which should display status information of your IP phone such as IP address/MAC address and Firmware revision.
Open a web browser on your computer (Chrome, Firefox, Internet Explorer, Safari, etc) and enter the IP address that is displayed on your phones LCD screen (for the parameter IPv4) into the address bar.
|
| STEP 2 |
Logging into your T41S |
|
You should now see the following Login Page:
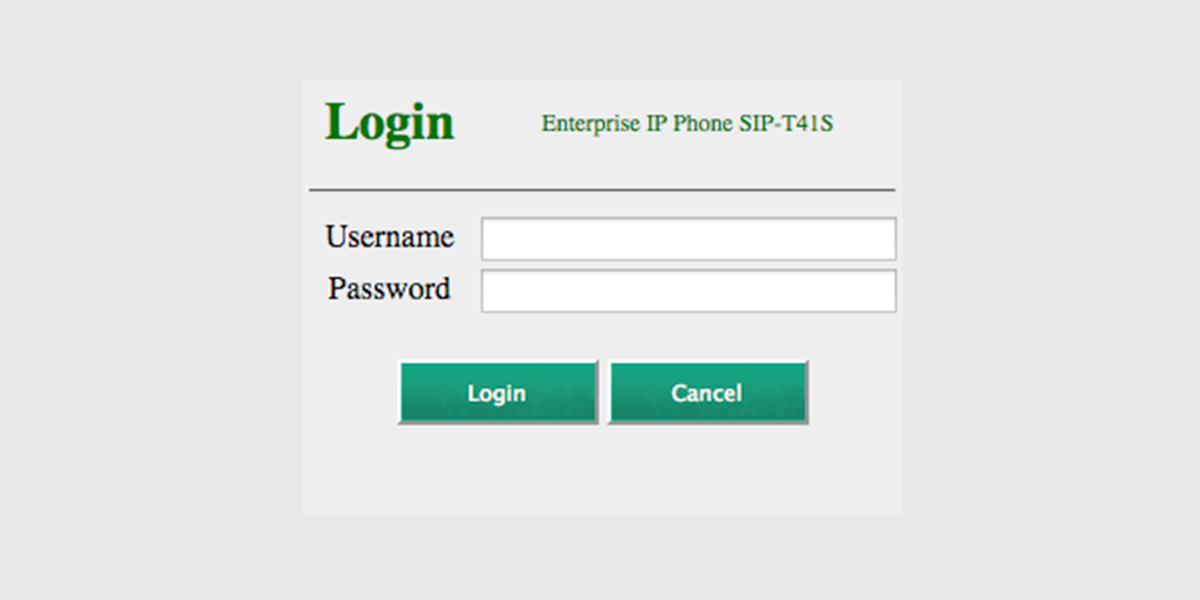
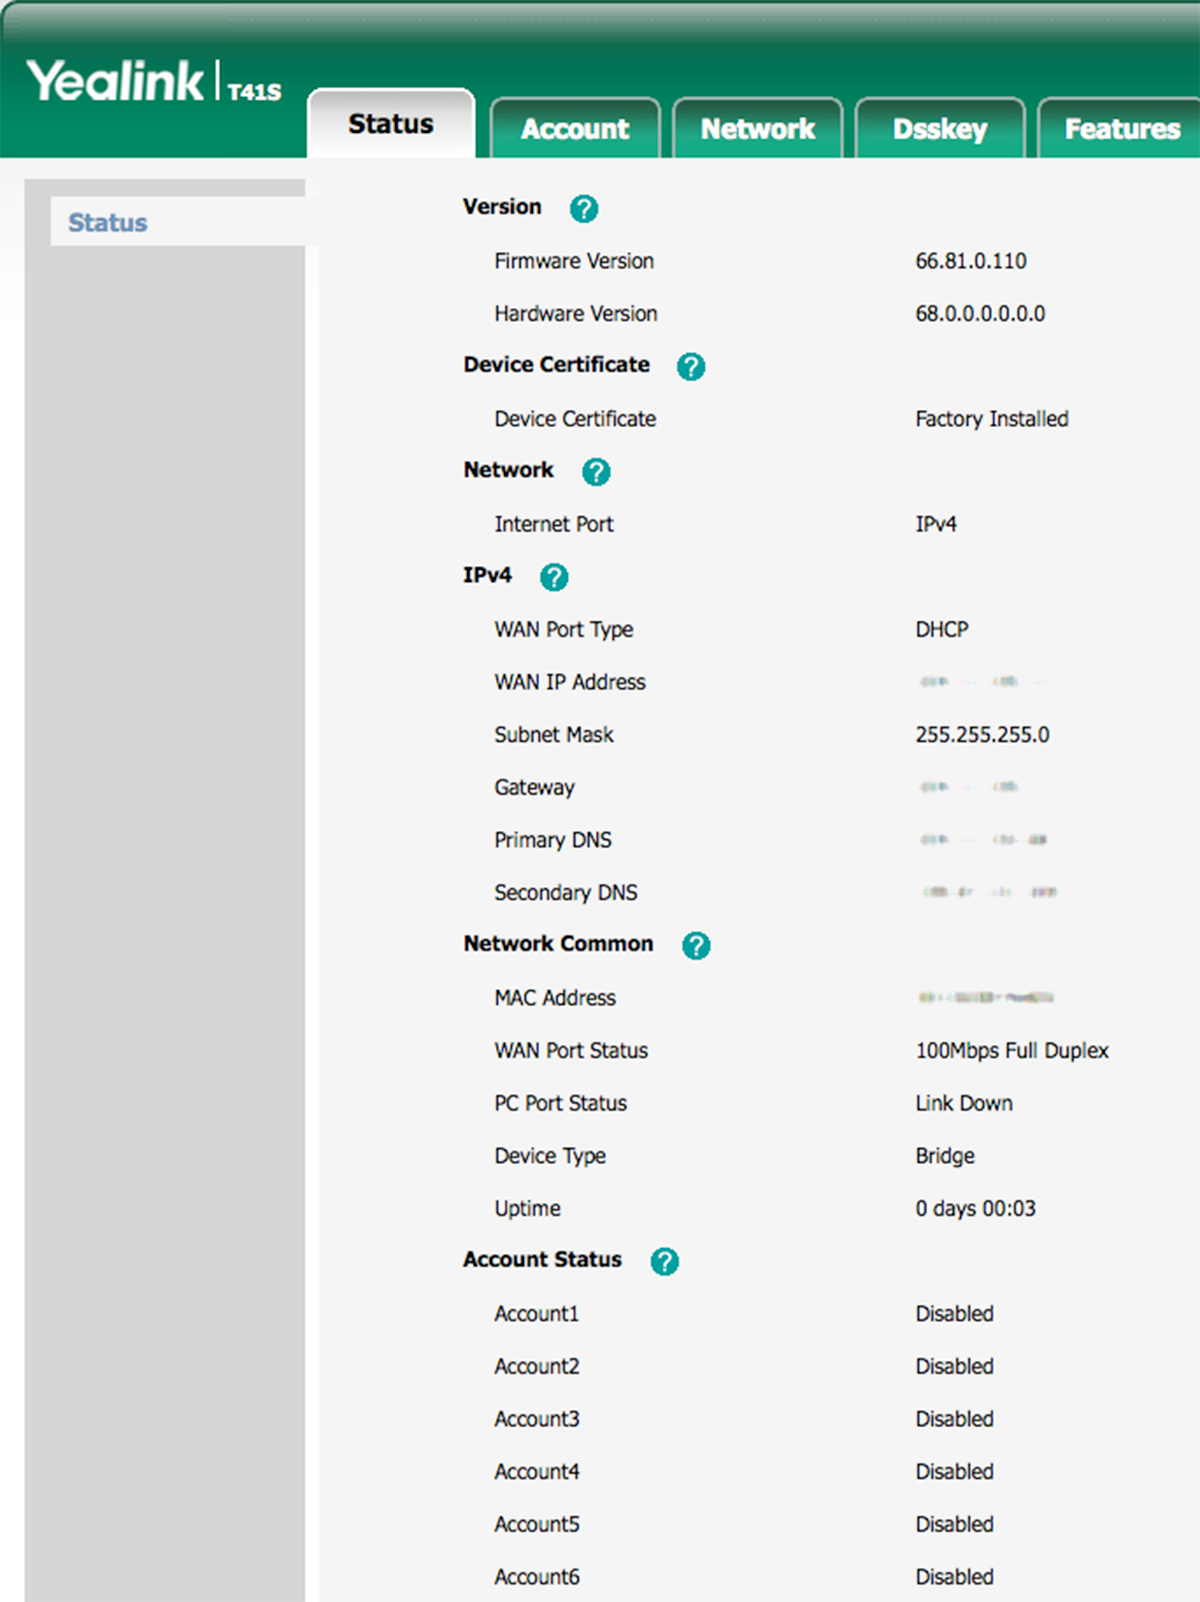
Enter the T41S's username and password into their respective fields. By default both the username and password should be admin. Once you have logged into your phone's web interface, you should be greeted by the Status screen which displays general information about your device (firmware version, account status, etc):
|
| STEP 3 |
Configuring your Callcentric account |
|
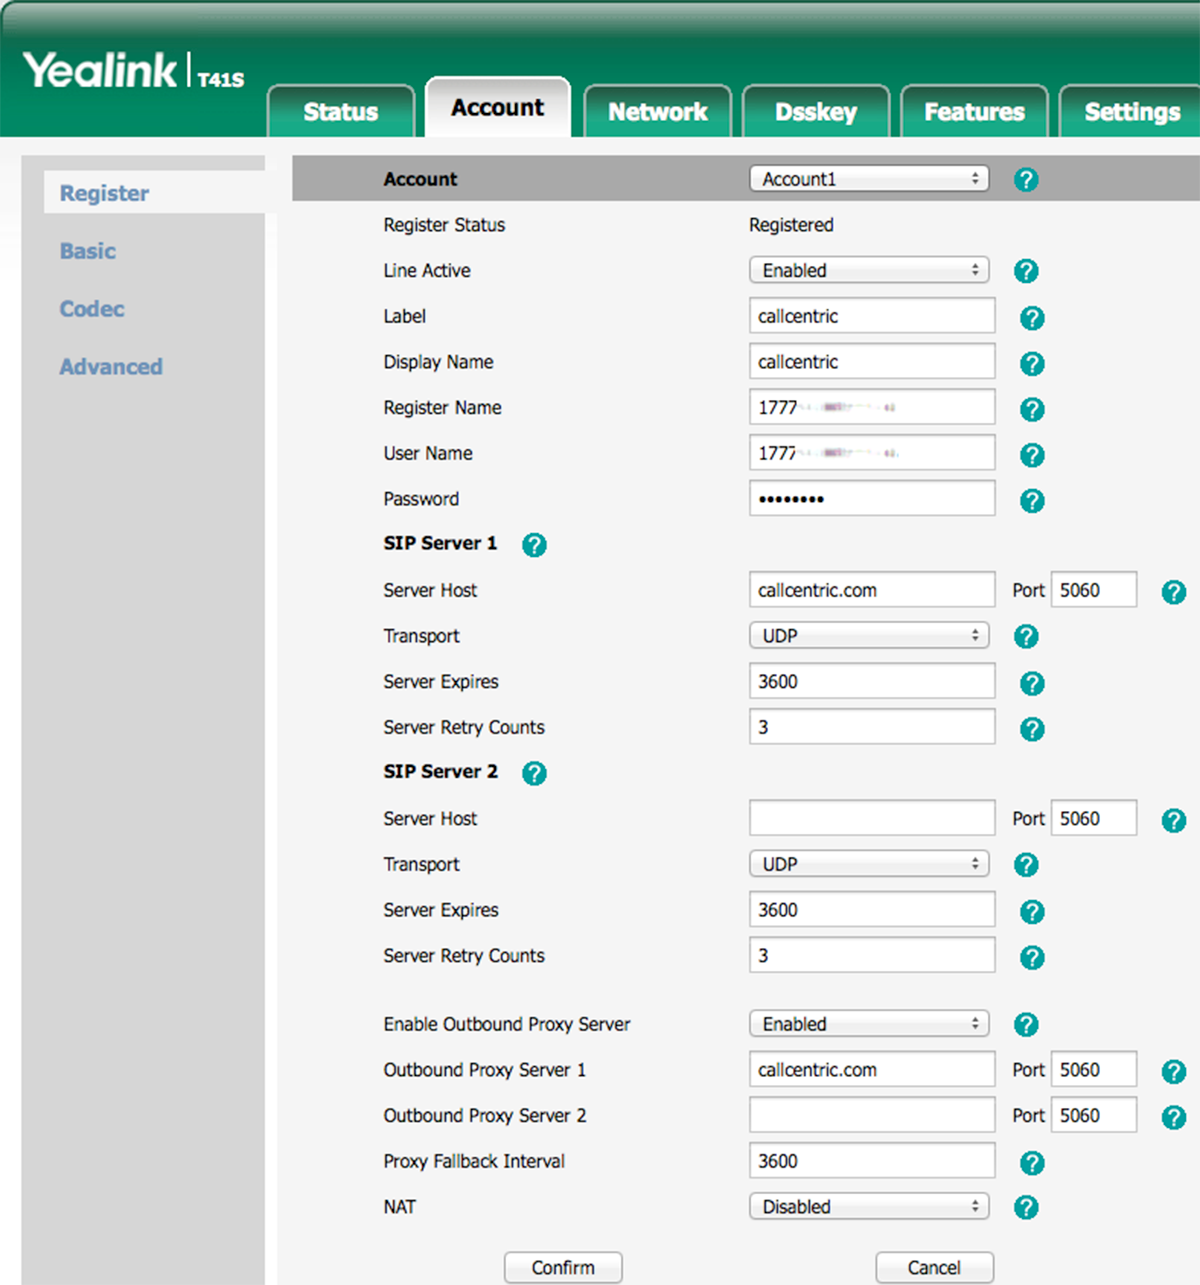
We will now configure one of the lines on the T41S to work with your Callcentric account. To begin, click the Account Tab on the top of the page as highlighted below:

From there you should be brought to the Account 1 Settings Page. On this page, please apply the settings detailed below to your configuration:
| |
| Setting | Value |
| Line Active | Enabled |
| Label | Callcentric |
| Display Name | You may specify any name on this option |
| Register Name | This is either the default extension 1777MYCCID OR 1777MYCCIDEXT, where 1777MYCCID is the 1777 number assigned to you by Callcentric and EXT is the three digit extension you are trying to register this UA to.
For example: 17770001234101 would register to extension 101 on account 17770001234.
You cannot register to your account using only the extension number. |
| User Name | This is either the default extension 1777MYCCID OR 1777MYCCIDEXT, where 1777MYCCID is the 1777 number assigned to you by Callcentric and EXT is the three digit extension you are trying to register this UA to.
For example: 17770001234101 would register to extension 101 on account 17770001234.
You cannot register to your account using only the extension number. |
| Password | Enter your SIP Password here. Your SIP password is the same password you selected when you were signing up for your Callcentric account. Optionally you may change it in your extension preferences. |
| SIP Server 1 -- Server Host | sip.callcentric.net Port: 5060 |
| Enable Outbound Proxy Server | Enabled |
| Outbound Proxy Server 1 | sip.callcentric.net Port: 5060 |
Once completed, please click on the Confirm button located at the bottom of the page to apply/save your changes.
Your configuration should now look similar to the one shown in the screenshot below:
|
| STEP 4 |
That's it! You can now make a phone call. |
|
You can make a test call to 17771234567, or if you are signed up for one of Callcentric's rate plans you
can place a call to a traditional landline or mobile phone by dialing either:
1 + the area code and number for calls to the US
Or
011 + the country code, area code, and number for calls worldwide
(you may also use 00 instead of 011).
|
|
|
