| GENERAL INFORMATION |
 |
|
Grandstream Wave is a free mobile softphone app developed by Grandstream Networks that is available for Android 4.0+ based systems. Grandstream Wave can be used either as a standalone softphone client or it can be integrated to work in conjunction with Grandstream's UCM IPPBX Systems. It is feature rich, has a clean/sharp interface, and allows upwards of 6 SIP profiles/accounts. This guide is based on version 1.0.1.2 of the Grandstream Wave softphone.
|
|
| RESOURCES |
|
Websites:
Grandstream Homepage
Grandstream Wave product page
Help / Support:
Grandstream Wave resource page
Grandstream Wave product manual
|
|
| Configuring the Grandstream Wave |
|
NOTE: Please be aware that:
- If used over 3G/4G/EDGE then depending on carrier and service plan used, you may be billed for your data usage.
Configuring the Grandstream Wave softphone for use with Callcentric is very straightforward and can be completed in a relatively short time.
We recommend that you read each step through in its entirety before performing the action(s) indicated in the step. |
 | |
| Step 1 |
Launching Grandstream Wave |
|
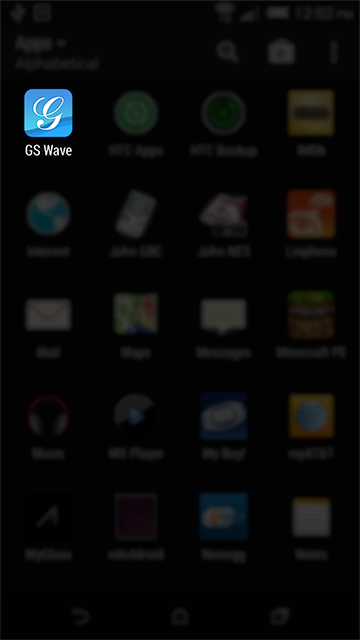
Open the application by tapping on the "GS Wave" icon on your mobile device interface:
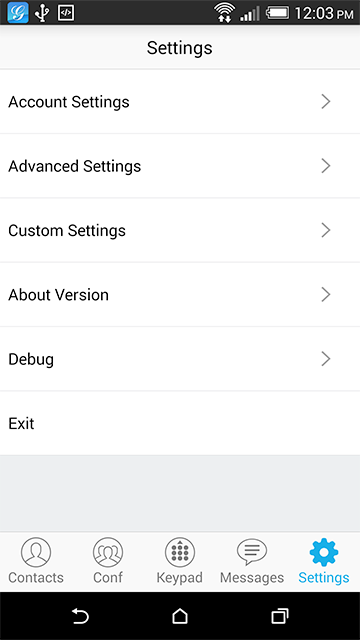
After launching the application, please tap on the Settings icon on the bottom right corner of the application, as indicated by the screenshot below:

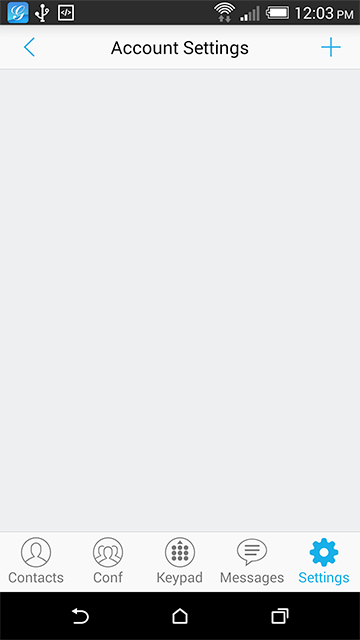
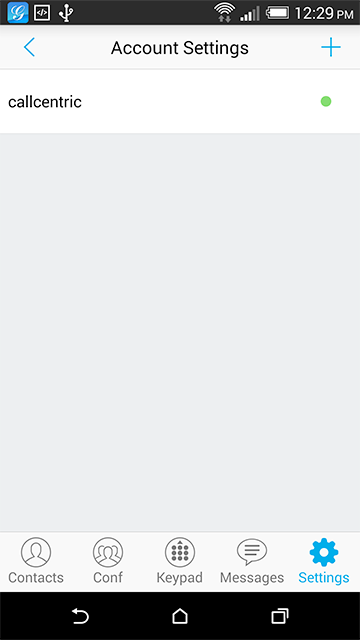
From the Settings screen, tap on the option Account Settings...
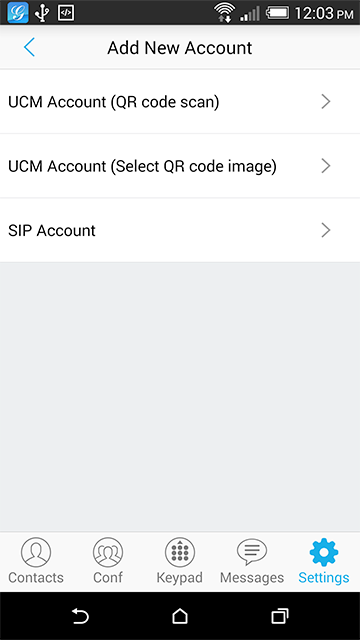
... followed by the + option on the top right hand corner of the Accounts Settings interface, and finally the SIP Accounts option to configure a new SIP profile in the softphone:
|
| Step 2 |
Configuring your Callcentric account |
|
We will now create a profile and enter the required credentials, such as your Callcentric number, password and SIP server address:
|
| Account Name: | callcentric |
| SIP Server: | sip.callcentric.net |
| SIP User ID: | This is either the default extension 1777MYCCID OR 1777MYCCIDEXT, where 1777MYCCID is the 1777 number assigned to you by Callcentric and EXT is the three digit extension you are trying to register this UA to.
For example: 17770001234101 would register to extension 101 on account 17770001234.
You cannot register to your account using only the extension number. |
| SIP Authentication ID: | This is either the default extension 1777MYCCID OR 1777MYCCIDEXT, where 1777MYCCID is the 1777 number assigned to you by Callcentric and EXT is the three digit extension you are trying to register this UA to.
For example: 17770001234101 would register to extension 101 on account 17770001234.
You cannot register to your account using only the extension number. |
| Password: | Enter your extension SIP Password here. Your extension SIP password is the password you created for the extension you are trying to use. You may edit the SIP password you wish to use in by logging into your My Callcentric account and clicking on the Extension menu link and then modifying the appropriate extension. |
| Voicemail UserID: | *123 |
| Display Name: | Your Desired Name, or your 1777 number |
Your configuration should look similar to the one shown in the picture below:
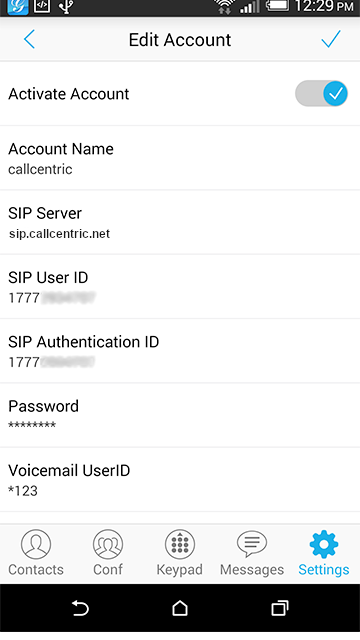
To save your settings, please tap the check mark on the tap right hand corner of the screen.
|
| Step 3 |
Configuring extra settings |
|
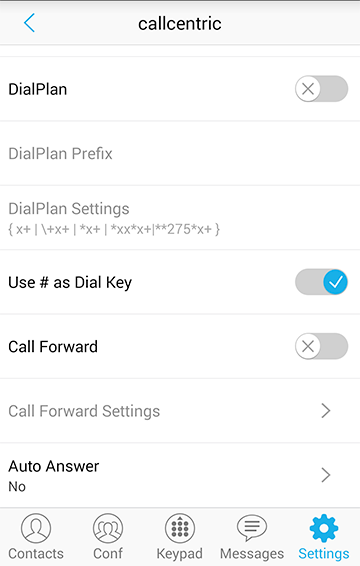
To configure extra settings please return to the Accounts Settings interface and tap the profile that you've just created (in our example, the profile labeled callcentric).
While scrolling down through the various menu options, locate the option DialPlan and disable it, as indicated by the screenshot below:
Scrolling further within the interface, locate the option DNS SRV and set it to SRV as indicated by the screenshot below:
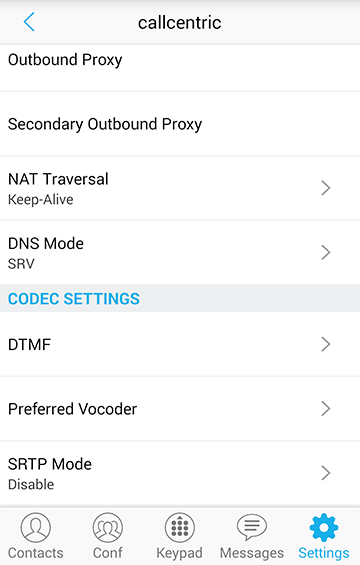
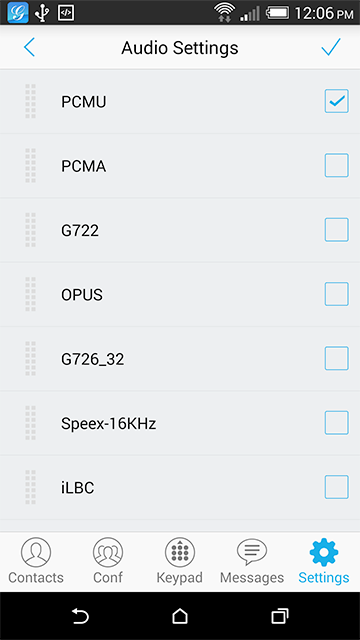
Lastly, scroll/ locate the menu option Preferred Vocoder and select Wifi. Within the Audio Settings interface, please ensure that only PCMU is selected and no other codecs are checked. Tap on the check mark on the top right hand corner of the screen to save your settings. You may also perform the same changes within the 2G/3G/4G section of the Preferred Vocoder interface.
Once you are done tap the Keypad icon near the bottom of the screen.
If you encounter any errors please doublecheck your credentials and make sure that you have entered them correctly.
|
| Step 4 |
That's it! You can now make a phone call. |
|
You can make a test call to 17771234567, or if you are signed up for one of Callcentric's rate plans you
can place a call to a traditional landline or mobile phone by dialing either:
1 + the area code and number for calls to the US
Or
011 + the country code, area code, and number for calls worldwide
(you may also use 00 instead of 011).
|
|
|
