| GENERAL INFORMATION |
 |
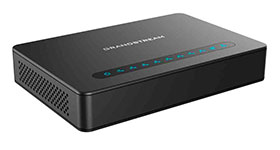 The Handytone 818 (HT818) is part of Grandstream's 8xx series line of ATAs. The HT818 features 8 phone ports and a built-in router with gigabit ethernet. These telephone adapters are reliable and work with the Callcentric service when placed behind your broadband internet router. The Handytone 818 (HT818) is part of Grandstream's 8xx series line of ATAs. The HT818 features 8 phone ports and a built-in router with gigabit ethernet. These telephone adapters are reliable and work with the Callcentric service when placed behind your broadband internet router. |
|
| RESOURCES |
|
Websites:
Grandstream Homepage
Grandstream HT818 Product Page
Help / Support:
HT818 Product Manual
Grandstream's Firmware Repository
|
|
| Configuring the HT818 |
|
These instructions are based on Grandstream HT818 firmware version 1.0.10.6; if you are running a different firmware version, some menus/settings may be different. These instructions are also based on using the HT818 in its factory default configuration, which obtains a dynamic IP address automatically from your router using DHCP. For information on configuring your HT818 with a Static IP address, please refer to the HT818 User Manual.
In this guide we will go through configuring the HT818 in order to register to the Callcentric servers so that you will be able to place and receive calls using your Callcentric account. Before moving forward, please ensure that you have properly added the device to your network by connecting it to your router or gateway.
We recommend that you read each step through in its entirety before performing the action(s) indicated within the step.
|
|
 | |
STEP 1
|
Connect your HandyTone to your router with the supplied Ethernet network cable. Next, connect your phone to the HandyTone. Finally, plug the supplied power cable into the HandyTone.
|
STEP 2
|
Wait 60 seconds after plugging your HT818 in.
Pick up the phone connected to the HT818 and dial the * key on your phone 3 times.
Have a pen and paper ready. When you hear the message - Enter a menu option please enter 0 2 on your phone. You will now hear a message giving you the IP address of your HT818, such as: "192.168.001.010". Please write this number down.
Open a web browser on your computer such as Chrome or Firefox and enter the IP address you wrote down in the previous step into the address bar (I.E. where you would normally enter www.yahoo.com).
Important Note: Some browsers will require you to remove leading zero's ( 0 's ) in the IP address. For example if you heard "192.168.001.010", you should change this to "192.168.1.10".
|
STEP 3
|
You should now see a page that looks like this:
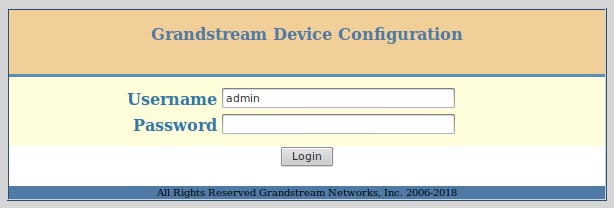
Enter the password for the HT818 in the password field. The default administrator password for the HT818 is admin.
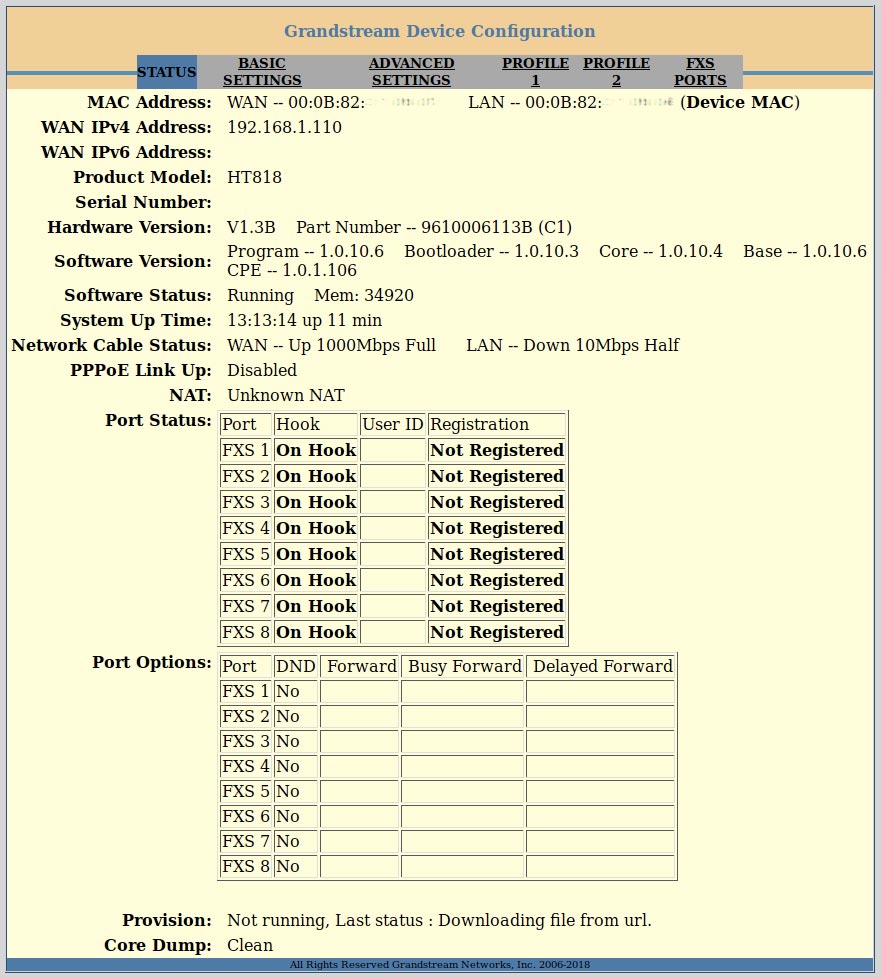
After entering the password you should see a screen that looks similar to the one below:
|
STEP 4
|
From the top menu bar, click on Profile 1 and configure your settings in-line with those detailed in the screenshot below. After doing so, please click the Apply button to save your settings.
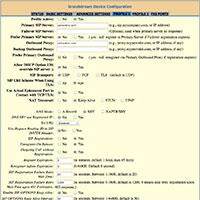 Open an image in new tab/window Open an image in new tab/window
| Setting | Value |
| Primary SIP Server | sip.callcentric.net |
| Outbound Proxy | sip.callcentric.net |
| NAT Traversal | Keep-Alive |
| DNS Mode | SRV |
| Unregister On Reboot | Yes |
| Register Expiration | 2 |
| Remove OBP from Route Header | Yes |
| Check SIP User ID for incoming INVITE | Yes |
| Preferred DTMF method | Choice 1: RFC2833
Choice 2: In-audio
Choice 3: In-audio |
| Enable Call Features | No |
| Dial Plan | {[x*]+} |
| Preferred Vocoder | Choice 1: PCMU
Choice 2: G729
Choice 3 - 7: PCMU |
|
STEP 5
|
From the top menu bar, click on FXS Port configuration page and configure your settings in-line with those detailed in the screenshot below. After doing so, please click the Apply button to save your settings.
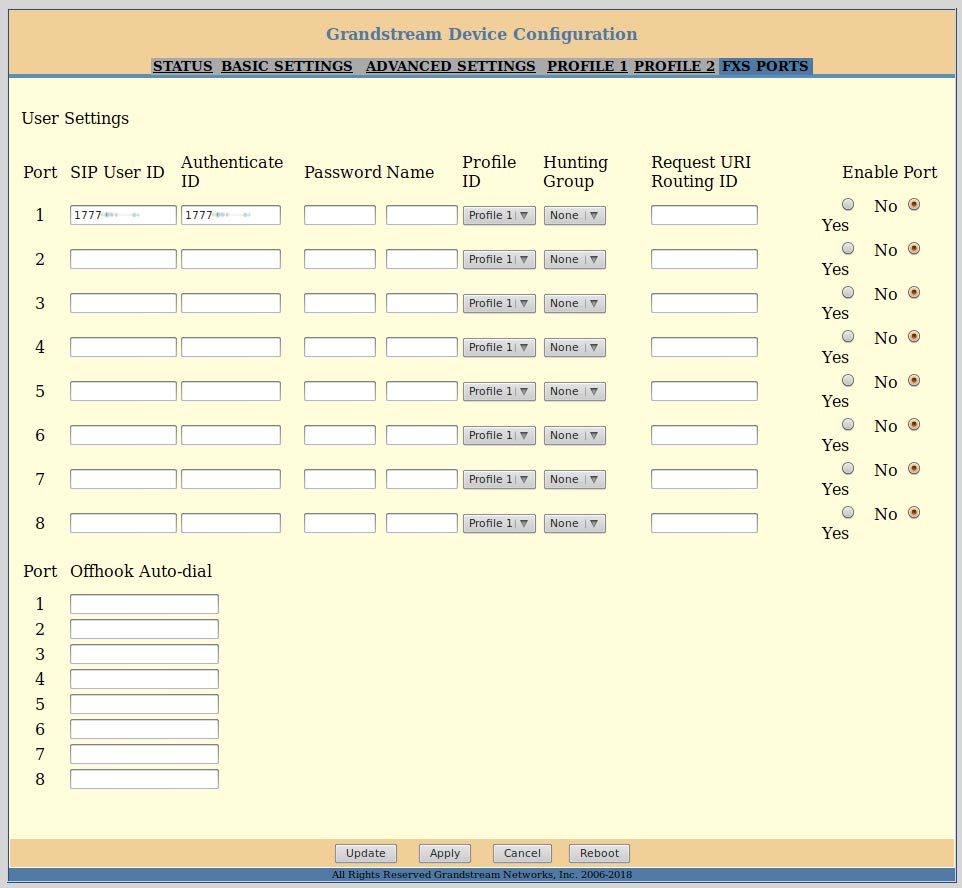
| Setting | Value |
| Port 1 SIP User ID | This is either the default extension 1777MYCCID OR 1777MYCCIDEXT, where 1777MYCCID is the 1777 number assigned to you by Callcentric and EXT is the three digit extension you are trying to register this UA to.
For example: 17770001234101 would register to extension 101 on account 17770001234.
You cannot register to your account using only the extension number. |
| Port 1 SIP Authenticate ID | This is either the default extension 1777MYCCID OR 1777MYCCIDEXT, where 1777MYCCID is the 1777 number assigned to you by Callcentric and EXT is the three digit extension you are trying to register this UA to.
For example: 17770001234101 would register to extension 101 on account 17770001234.
You cannot register to your account using only the extension number. |
| Port 1 Password | Enter your extension SIP Password here. Your extension SIP password is the password you created for the extension you are trying to use. You may edit the SIP password you wish to use in by logging into your My Callcentric account and clicking on the Extension menu link and then modifying the appropriate extension. |
| Port 1 Name | You may specify any name on this field |
| Port 1 Profile ID | Profile 1 |
| Enable Port | Yes |
|
STEP 6
|
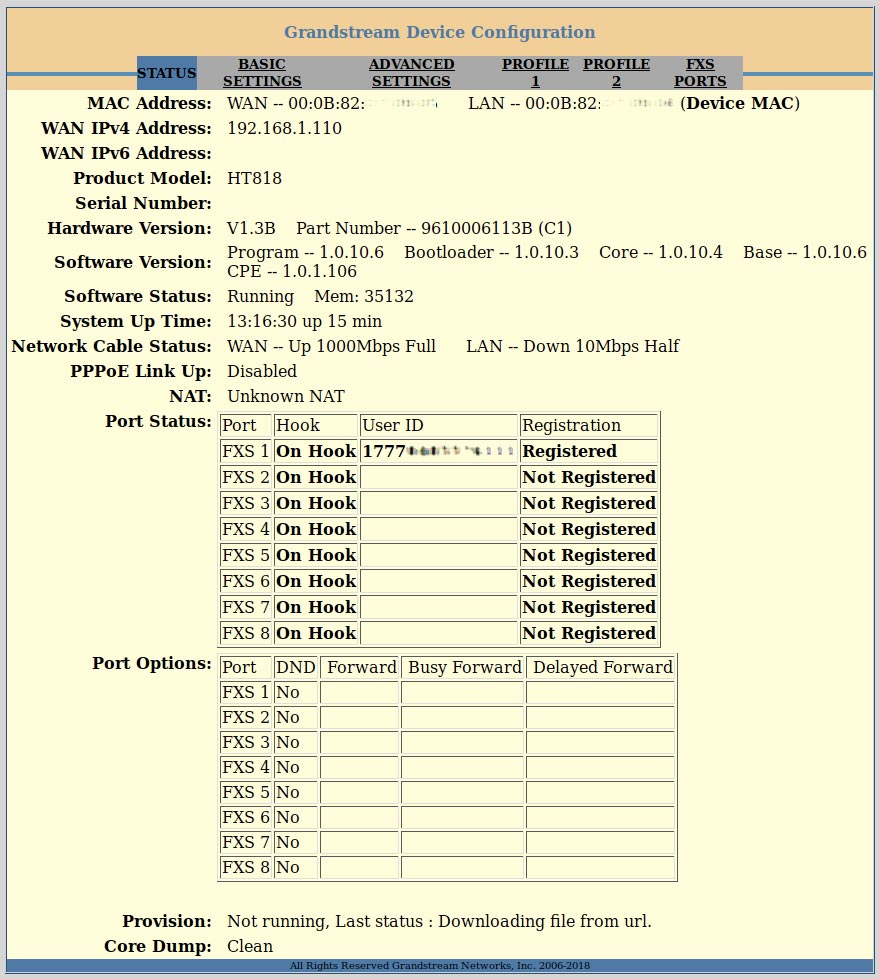
After saving your settings, from the top menu bar, select Status to check on your device's registration state. If configured correctly, you should see that the account you just setup is now Registered.
|
STEP 7
|
That's it! You can now make a phone call.
You can make a test call to 17771234567, or if you are signed up for one of Callcentric's rate plans you
can place a call to a traditional landline or mobile phone by dialing either:
1 + the area code and number for calls to the US
Or
011 + the country code, area code, and number for calls worldwide
(you may also use 00 instead of 011). |
|
|

 Open an image in new tab/window