| GENERAL INFORMATION |
 |
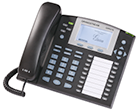 The GXP2110 is a 4-line device refresh of Grandstream's business line of Office IP phones. It offers the necessary features and stability one would expect form a phone meant for business usage in a responsive and simple to use device. We have found the GXP2110 to be reliable, full featured, easy to configure, and comparatively affordable. The GXP2110 is a 4-line device refresh of Grandstream's business line of Office IP phones. It offers the necessary features and stability one would expect form a phone meant for business usage in a responsive and simple to use device. We have found the GXP2110 to be reliable, full featured, easy to configure, and comparatively affordable.
|
|
| RESOURCES |
|
Websites:
Grandstream Homepage
Help / Support:
Grandstream GXP2110 resource page
Grandstream GXP2110 product manual
|
|
| Configuring Grandstream GXP2110 |
|
These instructions are based on Grandstream GXP2110 software version 1.0.4.9; if you are running a different software version some menus and settings may be different. These instructions are also based on using the GXP2110 in its factory default configuration, which obtains a dynamic IP address automatically from your router using DHCP. For information on configuring your GXP2110 with a static IP address please refer to the GXP2110 user manual.
Configuring the GXP2110 is relatively straightforward; while there are many options available you only need to edit a few of them to get up and running.
We recommend that you read each step through in its entirety before performing the action indicated in the step.
|
 | |
| STEP 1 |
Connecting the GXP2110 to your network |
|
Connect your GXP2110 to your router or switch using the included Ethernet cable. Once that is done, plug the AC adapter to your phone. Then plug the other end to an available power outlet.
|
| STEP 2 |
Accessing your web configuration |
|
Once you have powered up your GXP2110 plus wait 60 seconds for it to fully boot up.
On the LCD Screen of the phone, directly beneath the Grandstream logo you should see the device's IP address, which will be in a similar format to 192.168.1.10 for example. Note that the actual numbers you see will most likely be different.
On your computer launch your favorite web browser such as Chrome, Firefox, Internet Explorer, or Safari, and enter the IP address that you see on your phones LCD screen in the address bar(the same location where you enter web addresses).
|
| STEP 3 |
Logging in to the GXP2110 |
|
You should now see a page that looks like this:
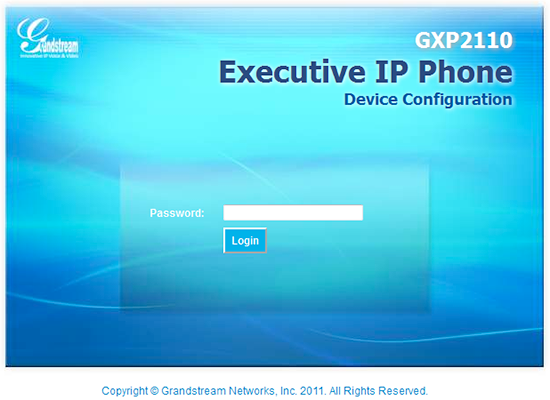
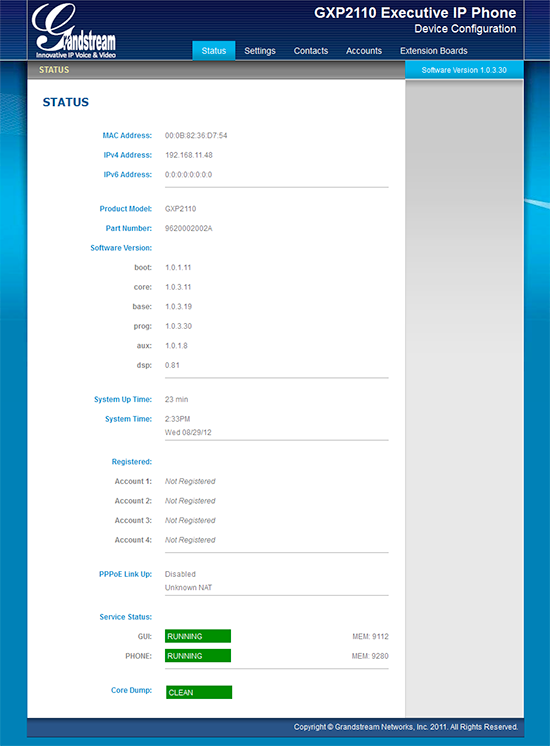
Enter the GXP2110's password in to the "Password" field shown, by default this password should be admin. Once you have logged in you should see a page that looks similar to the screen shot below:
|
| STEP 4 |
Configuring your Callcentric account |
|
We will now configure one of the lines on the GXP2110 to work with your Callcentric account. To begin, and assuming you are still on the Status page shown in the previous step, please click the Accounts link on the top of the page as highlighted below:
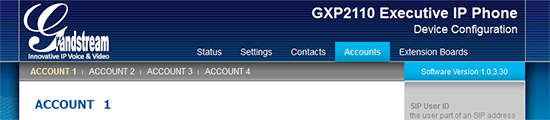
From there you should be brought to the Account 1 settings page. Once there make the following changes in your configuration:
| |
| Setting | Value |
| Account Name: | Your Name (or your choice of name) |
| SIP Server: | sip.callcentric.net |
| Secondary Server: | sip.callcentric.net |
| Outbound Proxy: | sip.callcentric.net |
| SIP User ID: | This is either the default extension 1777MYCCID OR 1777MYCCIDEXT, where 1777MYCCID is the 1777 number assigned to you by Callcentric and EXT is the three digit extension you are trying to register this UA to.
For example: 17770001234101 would register to extension 101 on account 17770001234.
You cannot register to your account using only the extension number. |
| Authenticate ID: | This is either the default extension 1777MYCCID OR 1777MYCCIDEXT, where 1777MYCCID is the 1777 number assigned to you by Callcentric and EXT is the three digit extension you are trying to register this UA to.
For example: 17770001234101 would register to extension 101 on account 17770001234.
You cannot register to your account using only the extension number. |
| Authenticate Password: | Enter your extension SIP Password here. Your extension SIP password is the password you created for the extension you are trying to use. You may edit the SIP password you wish to use in by logging into your My Callcentric account and clicking on the Extension menu link and then modifying the appropriate extension. |
| Name: | 1777MYCCID, or any name you choose |
| DNS Mode: | A Record |
| Send DTMF: | via RTP (RFC2833) |
| Dial Plan: | {[x*]+} |
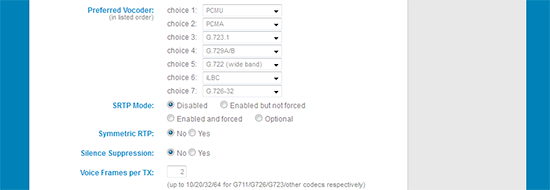
| Preferred Vocoder: | PCMU, PCMA, G.729A/B |
Your configuration should look similar to the one shown in the picture below:

And your codec configuration should look as follows(note that G.722 is optional, feel free to replace it with PCMU):
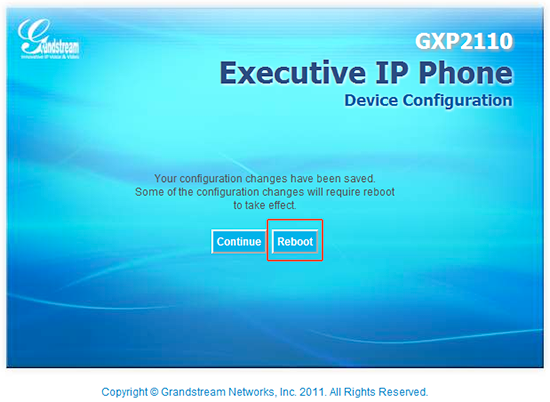
Once all changes have been made please click the "Update" button on the bottom of the page, then "Reboot" on the page that you are brought to after the update.
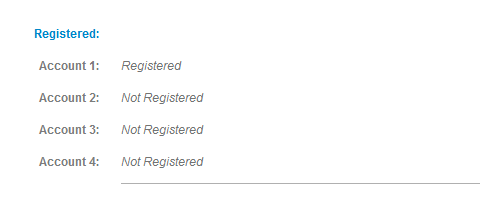
You should then see the status for the account, Account 1, Account 2... etc., you just configured shown as Registered:
|
| STEP 5 |
That's it! You can now make a phone call. |
|
You can make a test call to 17771234567, or if you are signed up for one of Callcentric's rate plans you
can place a call to a traditional landline or mobile phone by dialing either:
1 + the area code and number for calls to the US
Or
011 + the country code, area code, and number for calls worldwide
(you may also use 00 instead of 011).
To test inbound calls from Callcentric to your GXP2110 installation, follow the directions listed in this FAQ.
|
|
|
